Category Archives: Easy Healthy Recipes

Healthy eating doesn’t have to take much time and here I share super easy and yummy recipes that can be done in a matter of no time.

Have Your Juice and Eat It Too!

Juicing

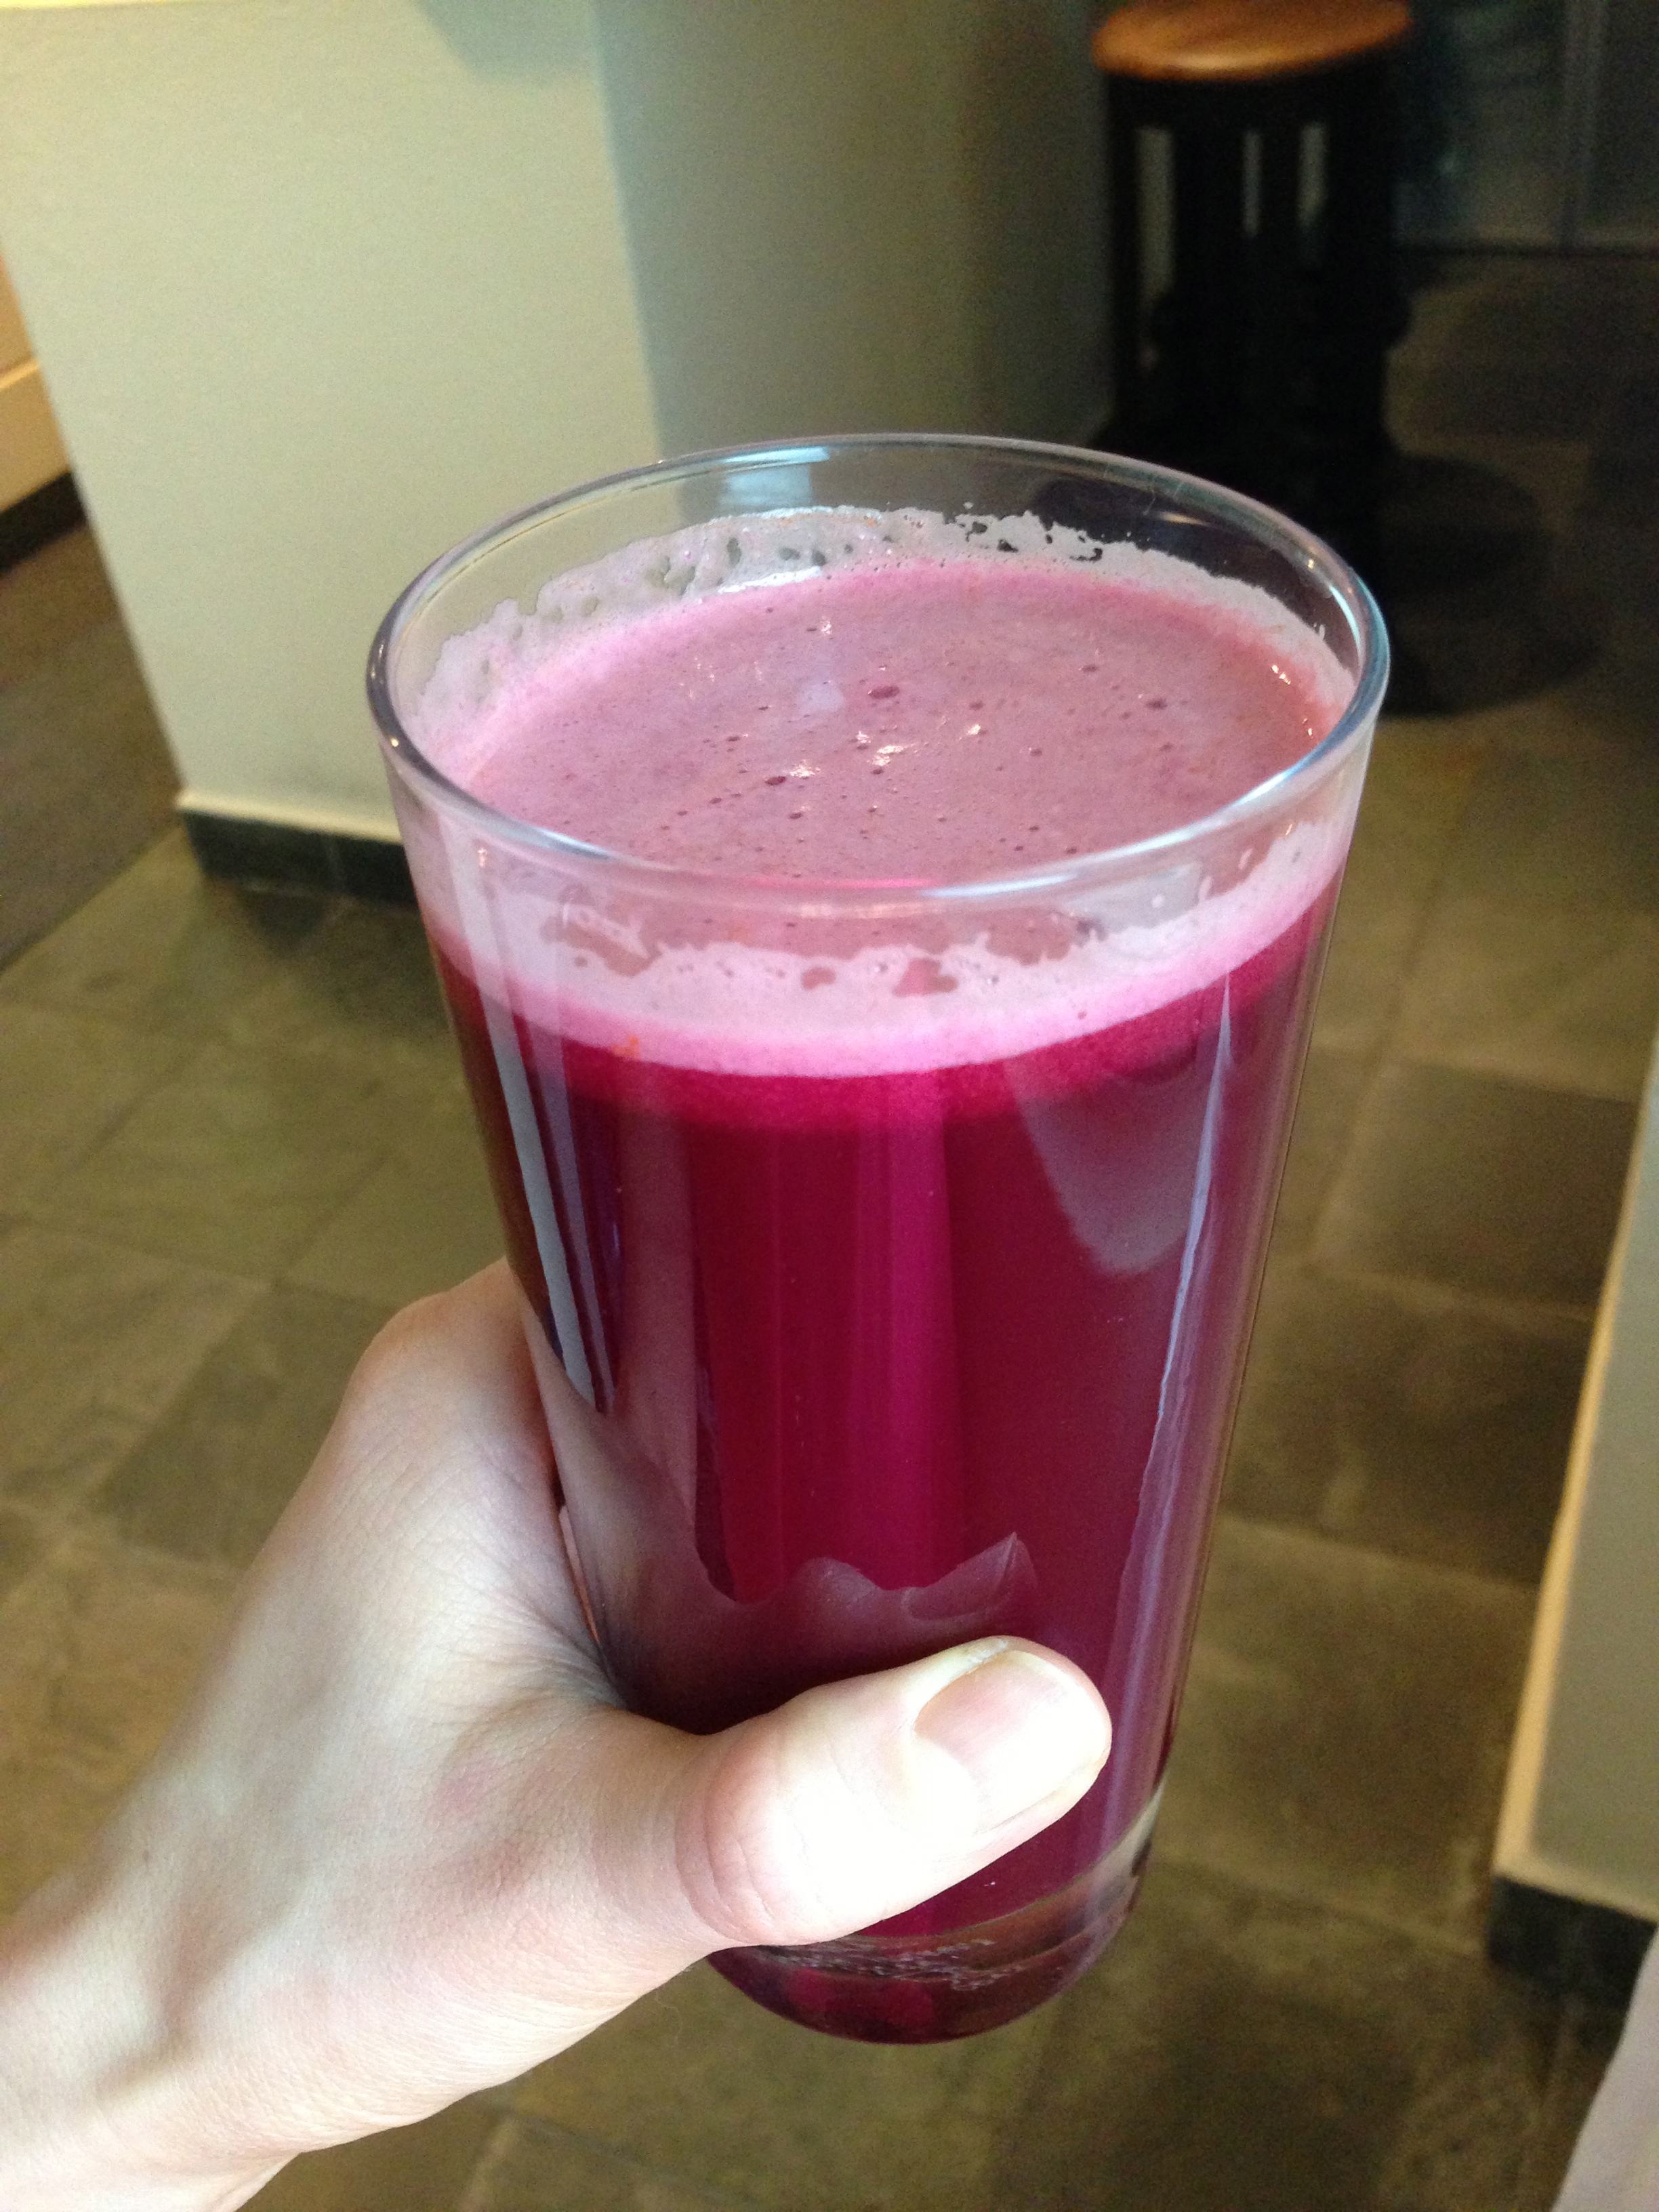
From detoxing, cleansing or just to get that extra vitamin boost-juicing is all the rage these days! Almost everyone has some kind of juicing gadget at home or has heard of or tried some sort of juice detox. As I mentioned in my previous post….I tried two! :p

After my awesome cleanse experiences I decided to start juicing at home regularly…..until the day my juicer decided to clonk out on me. So my search in getting the best juicer in the market began! Apparently slow juicers are then best kind to get as it’s said that they provide you with more of the fruits and veggies that are juiced, providing you more flavour and most importantly, more vitamins and nutrients. But this comes with quite a hefty price tag! So I made sure I did ALL my research and trials, which took about a month,  before heading out and finally settling on the one I got. I love my new juicer and I now juice almost everyday! 🙂

IMG_8652

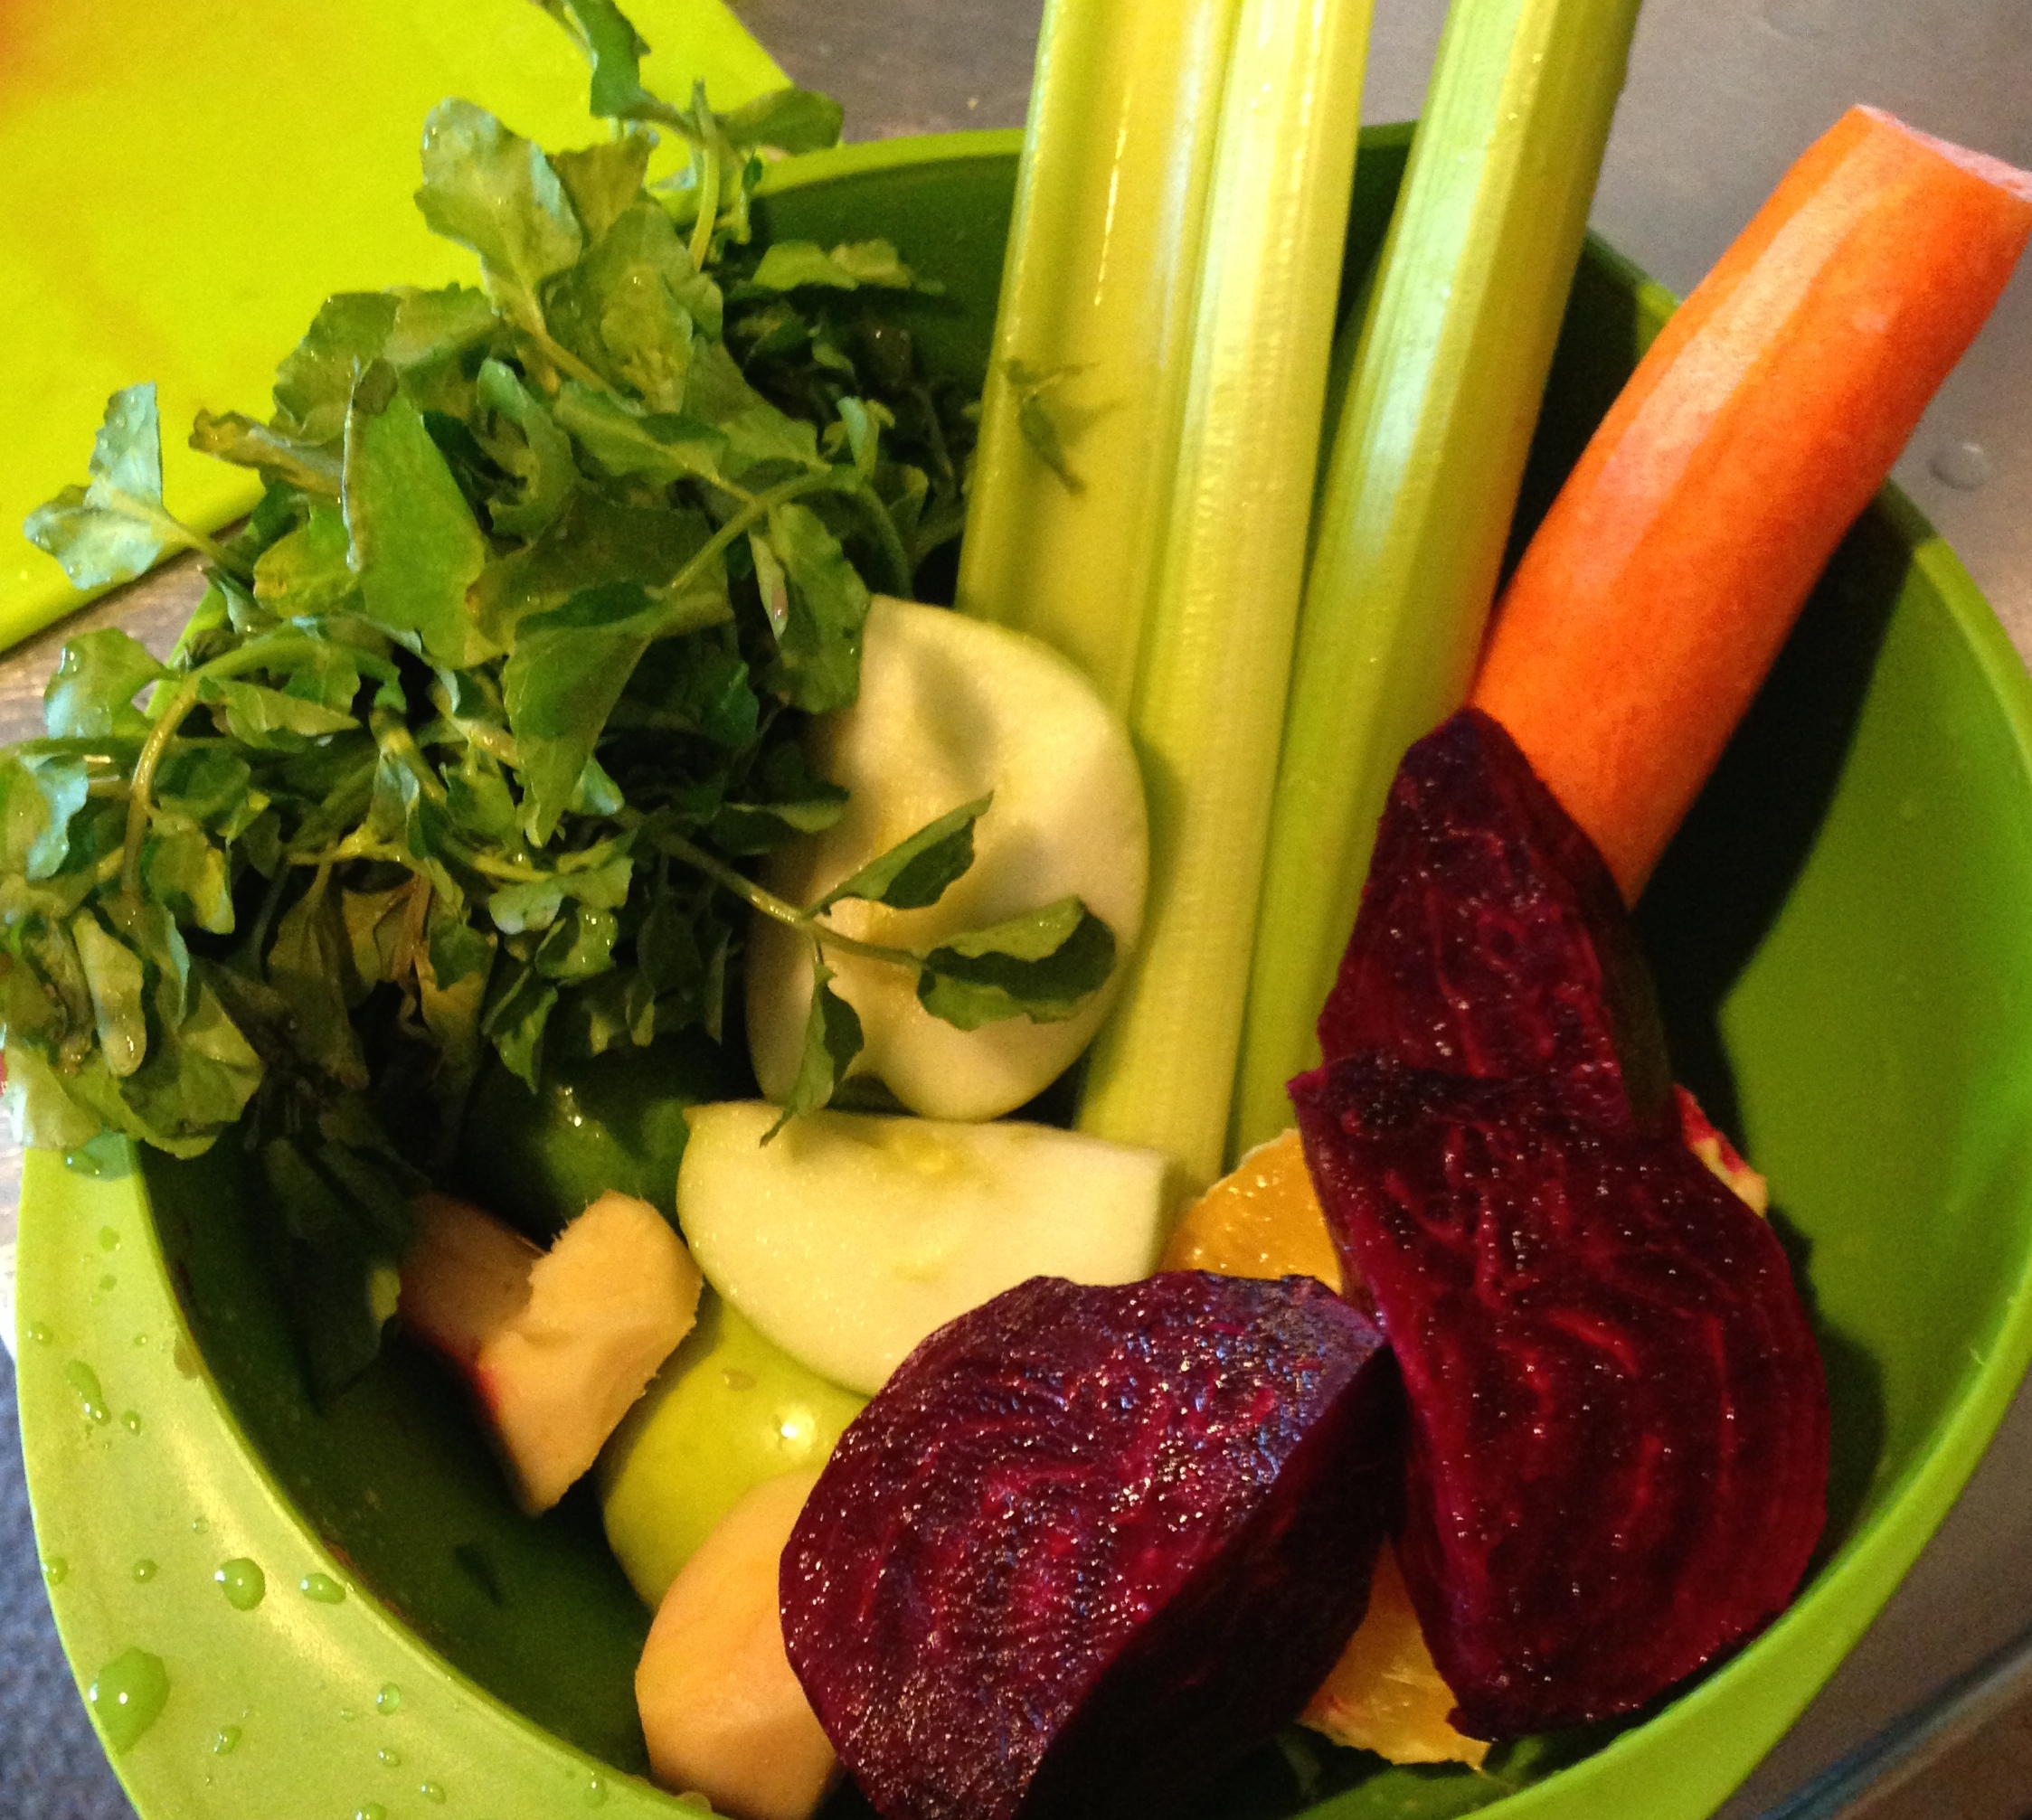
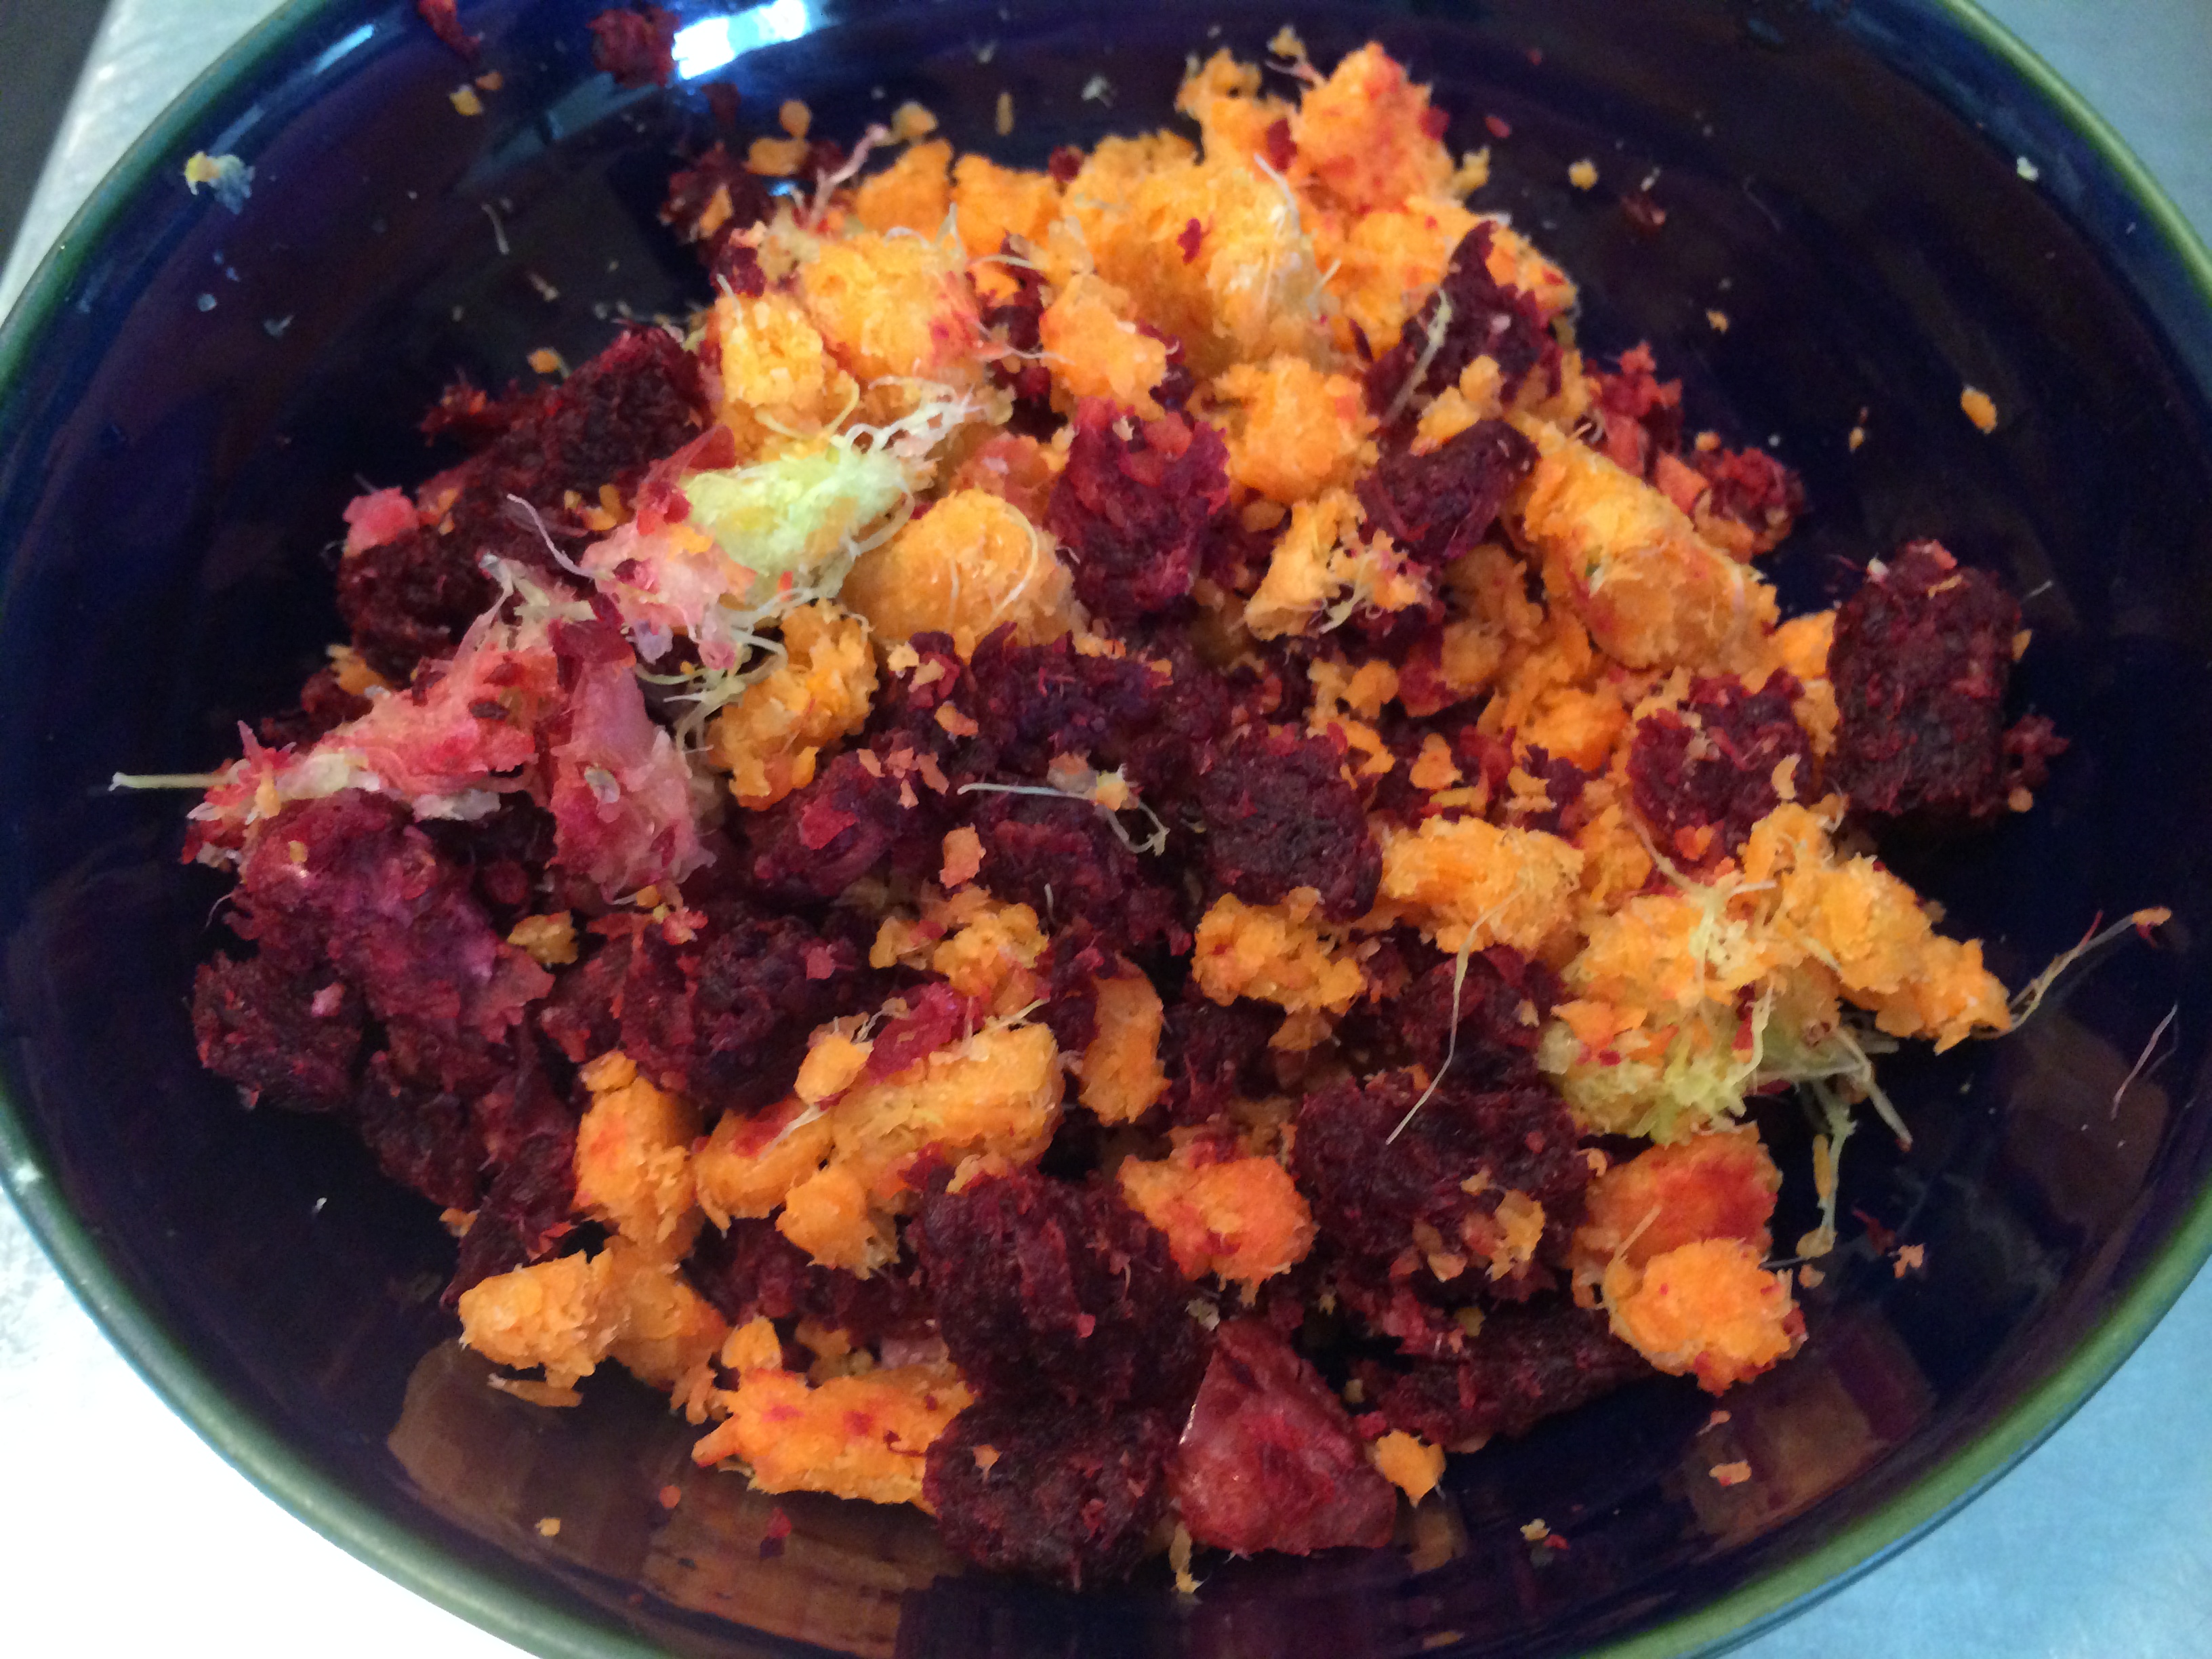
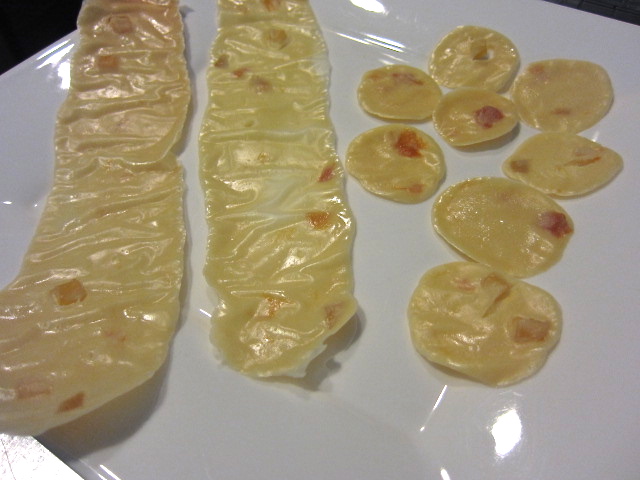
There’s so many different tasty combinations we can experiment with to ensure we get our daily recommended dose of fruits and veggies. The options are endless! Now, I don’t know about you but after juicing I feel if I had to throw the pulp away. Feels so wasteful! So I did some experimenting, as I do, and found a couple useful options when it comes to the pulp left over from juicing! Below are a couple recipes using leftover juice pulp. You can also freeze whatever pulp you don’t use for another time. Yay! No more wasting!!! 🙂

IMG_9781

IMG_9804

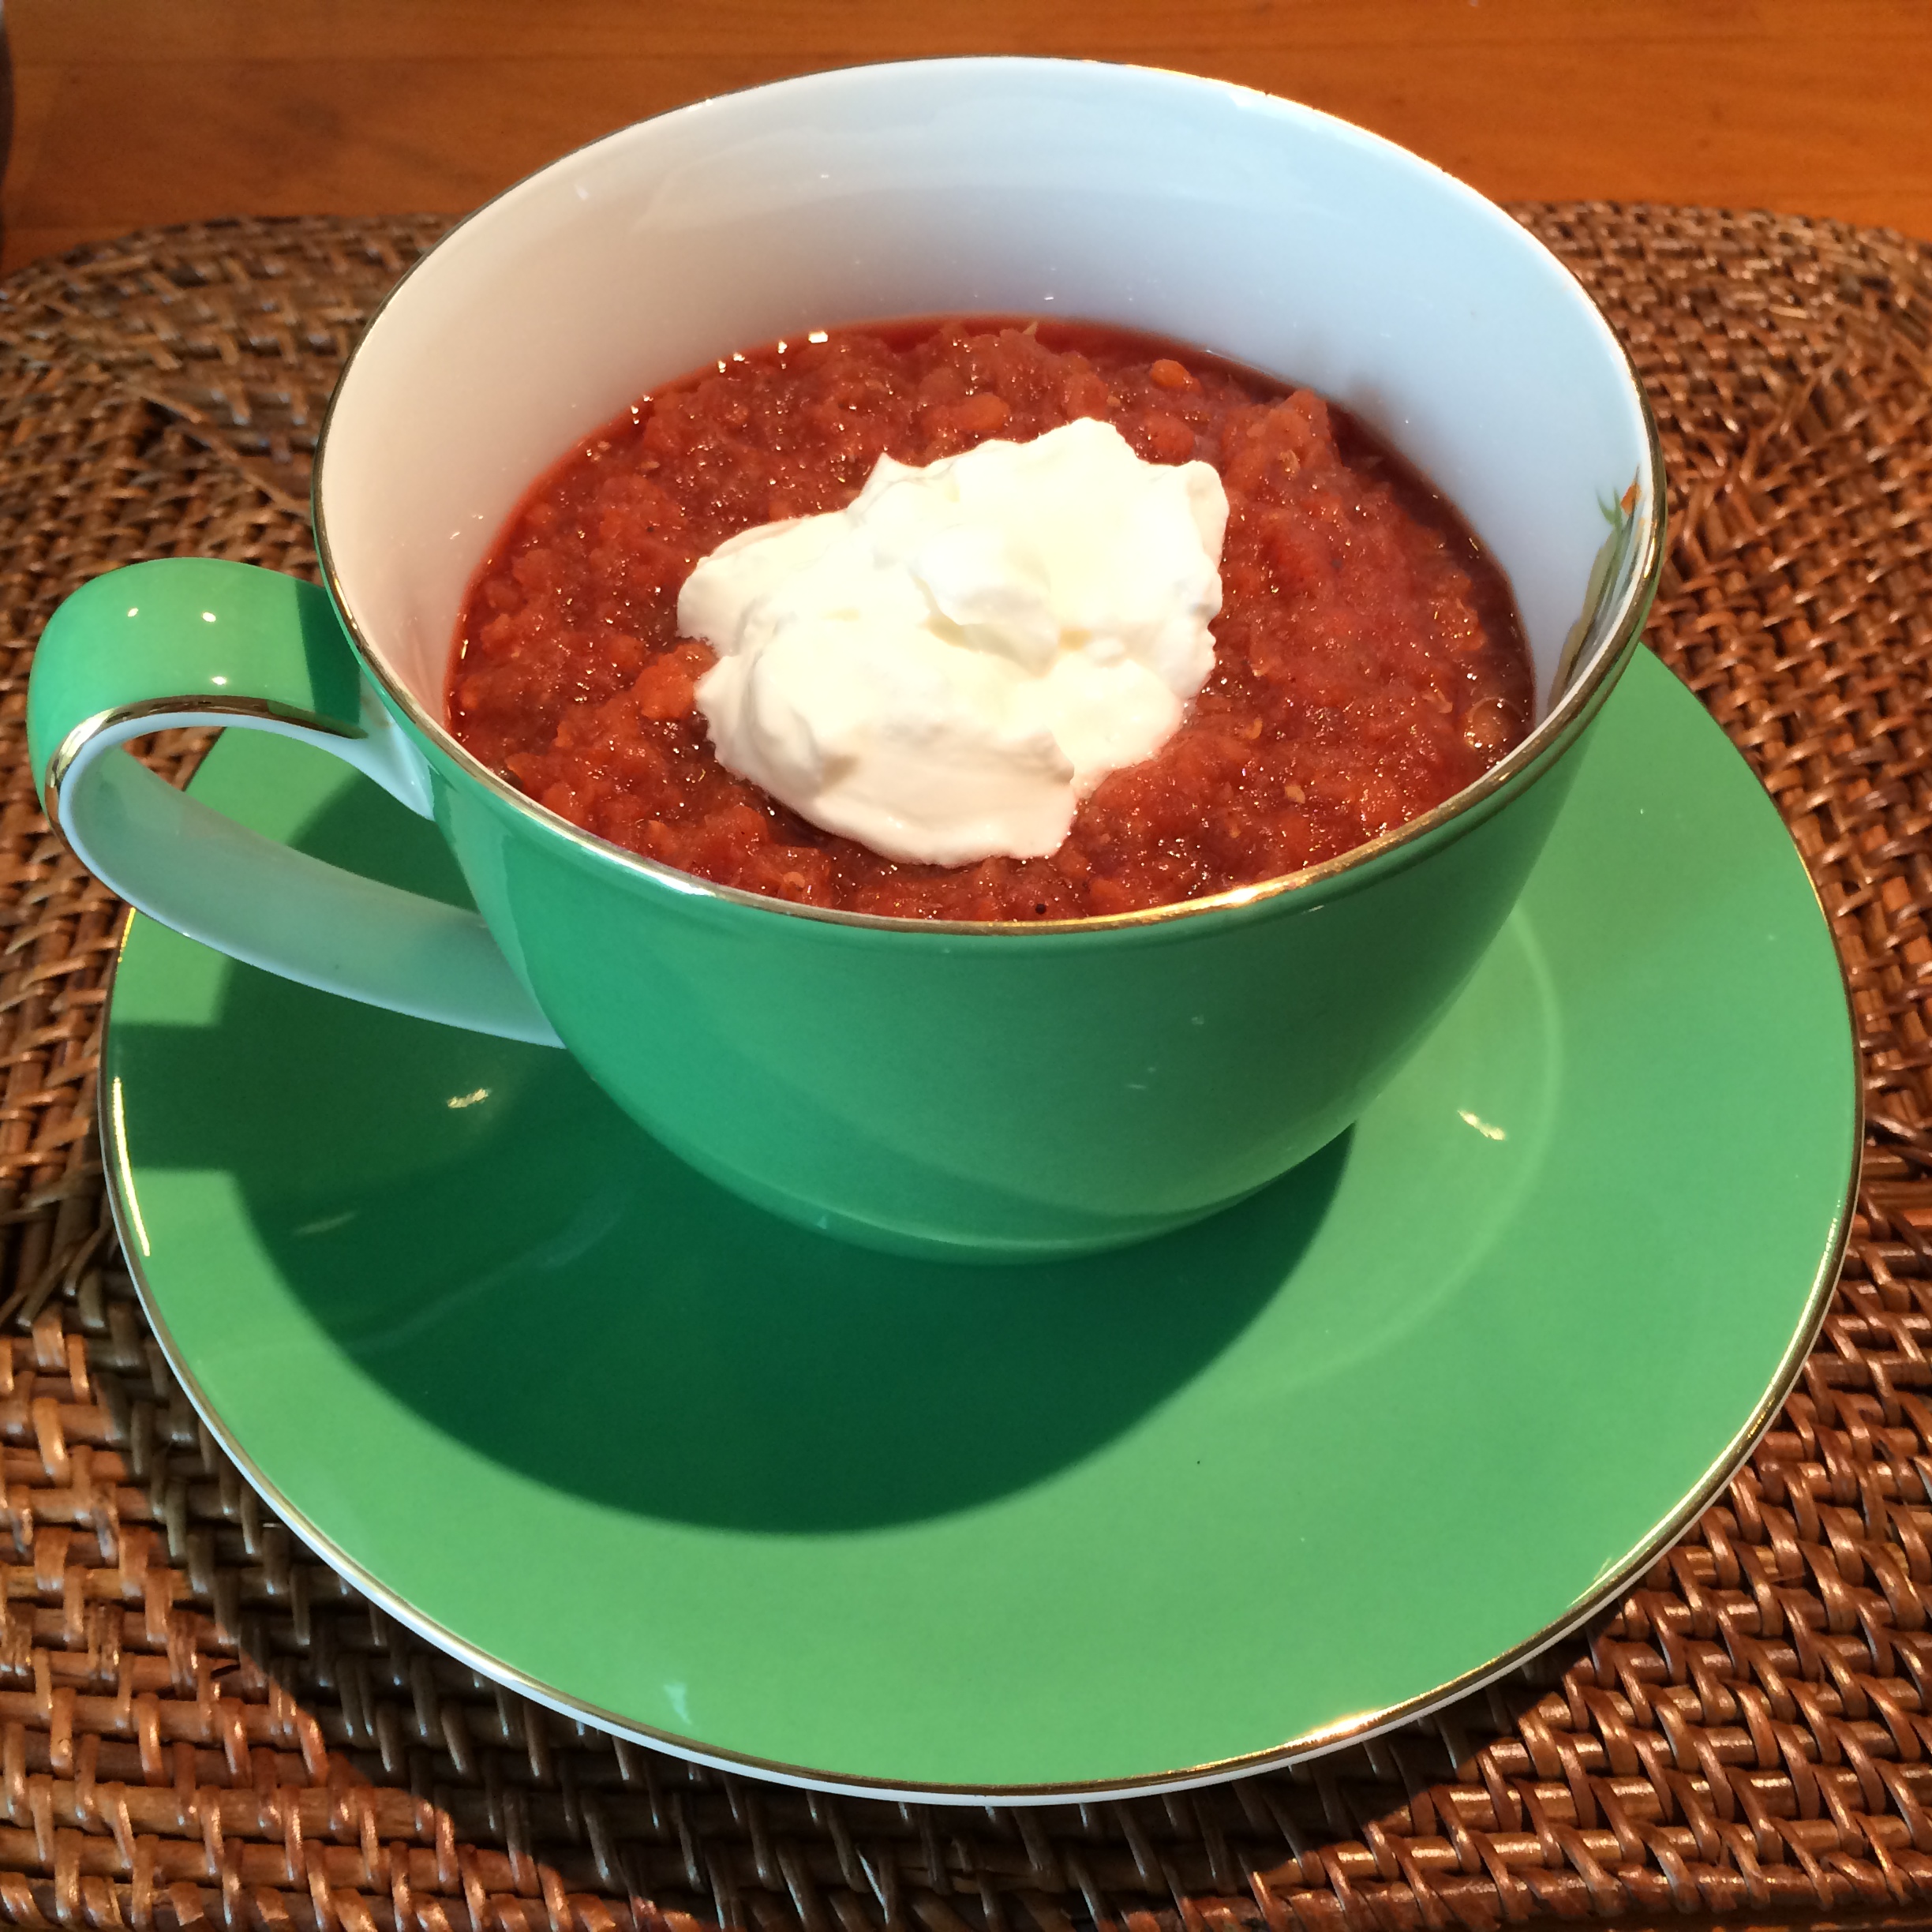
Vegetarian Lentil Chilli Soup

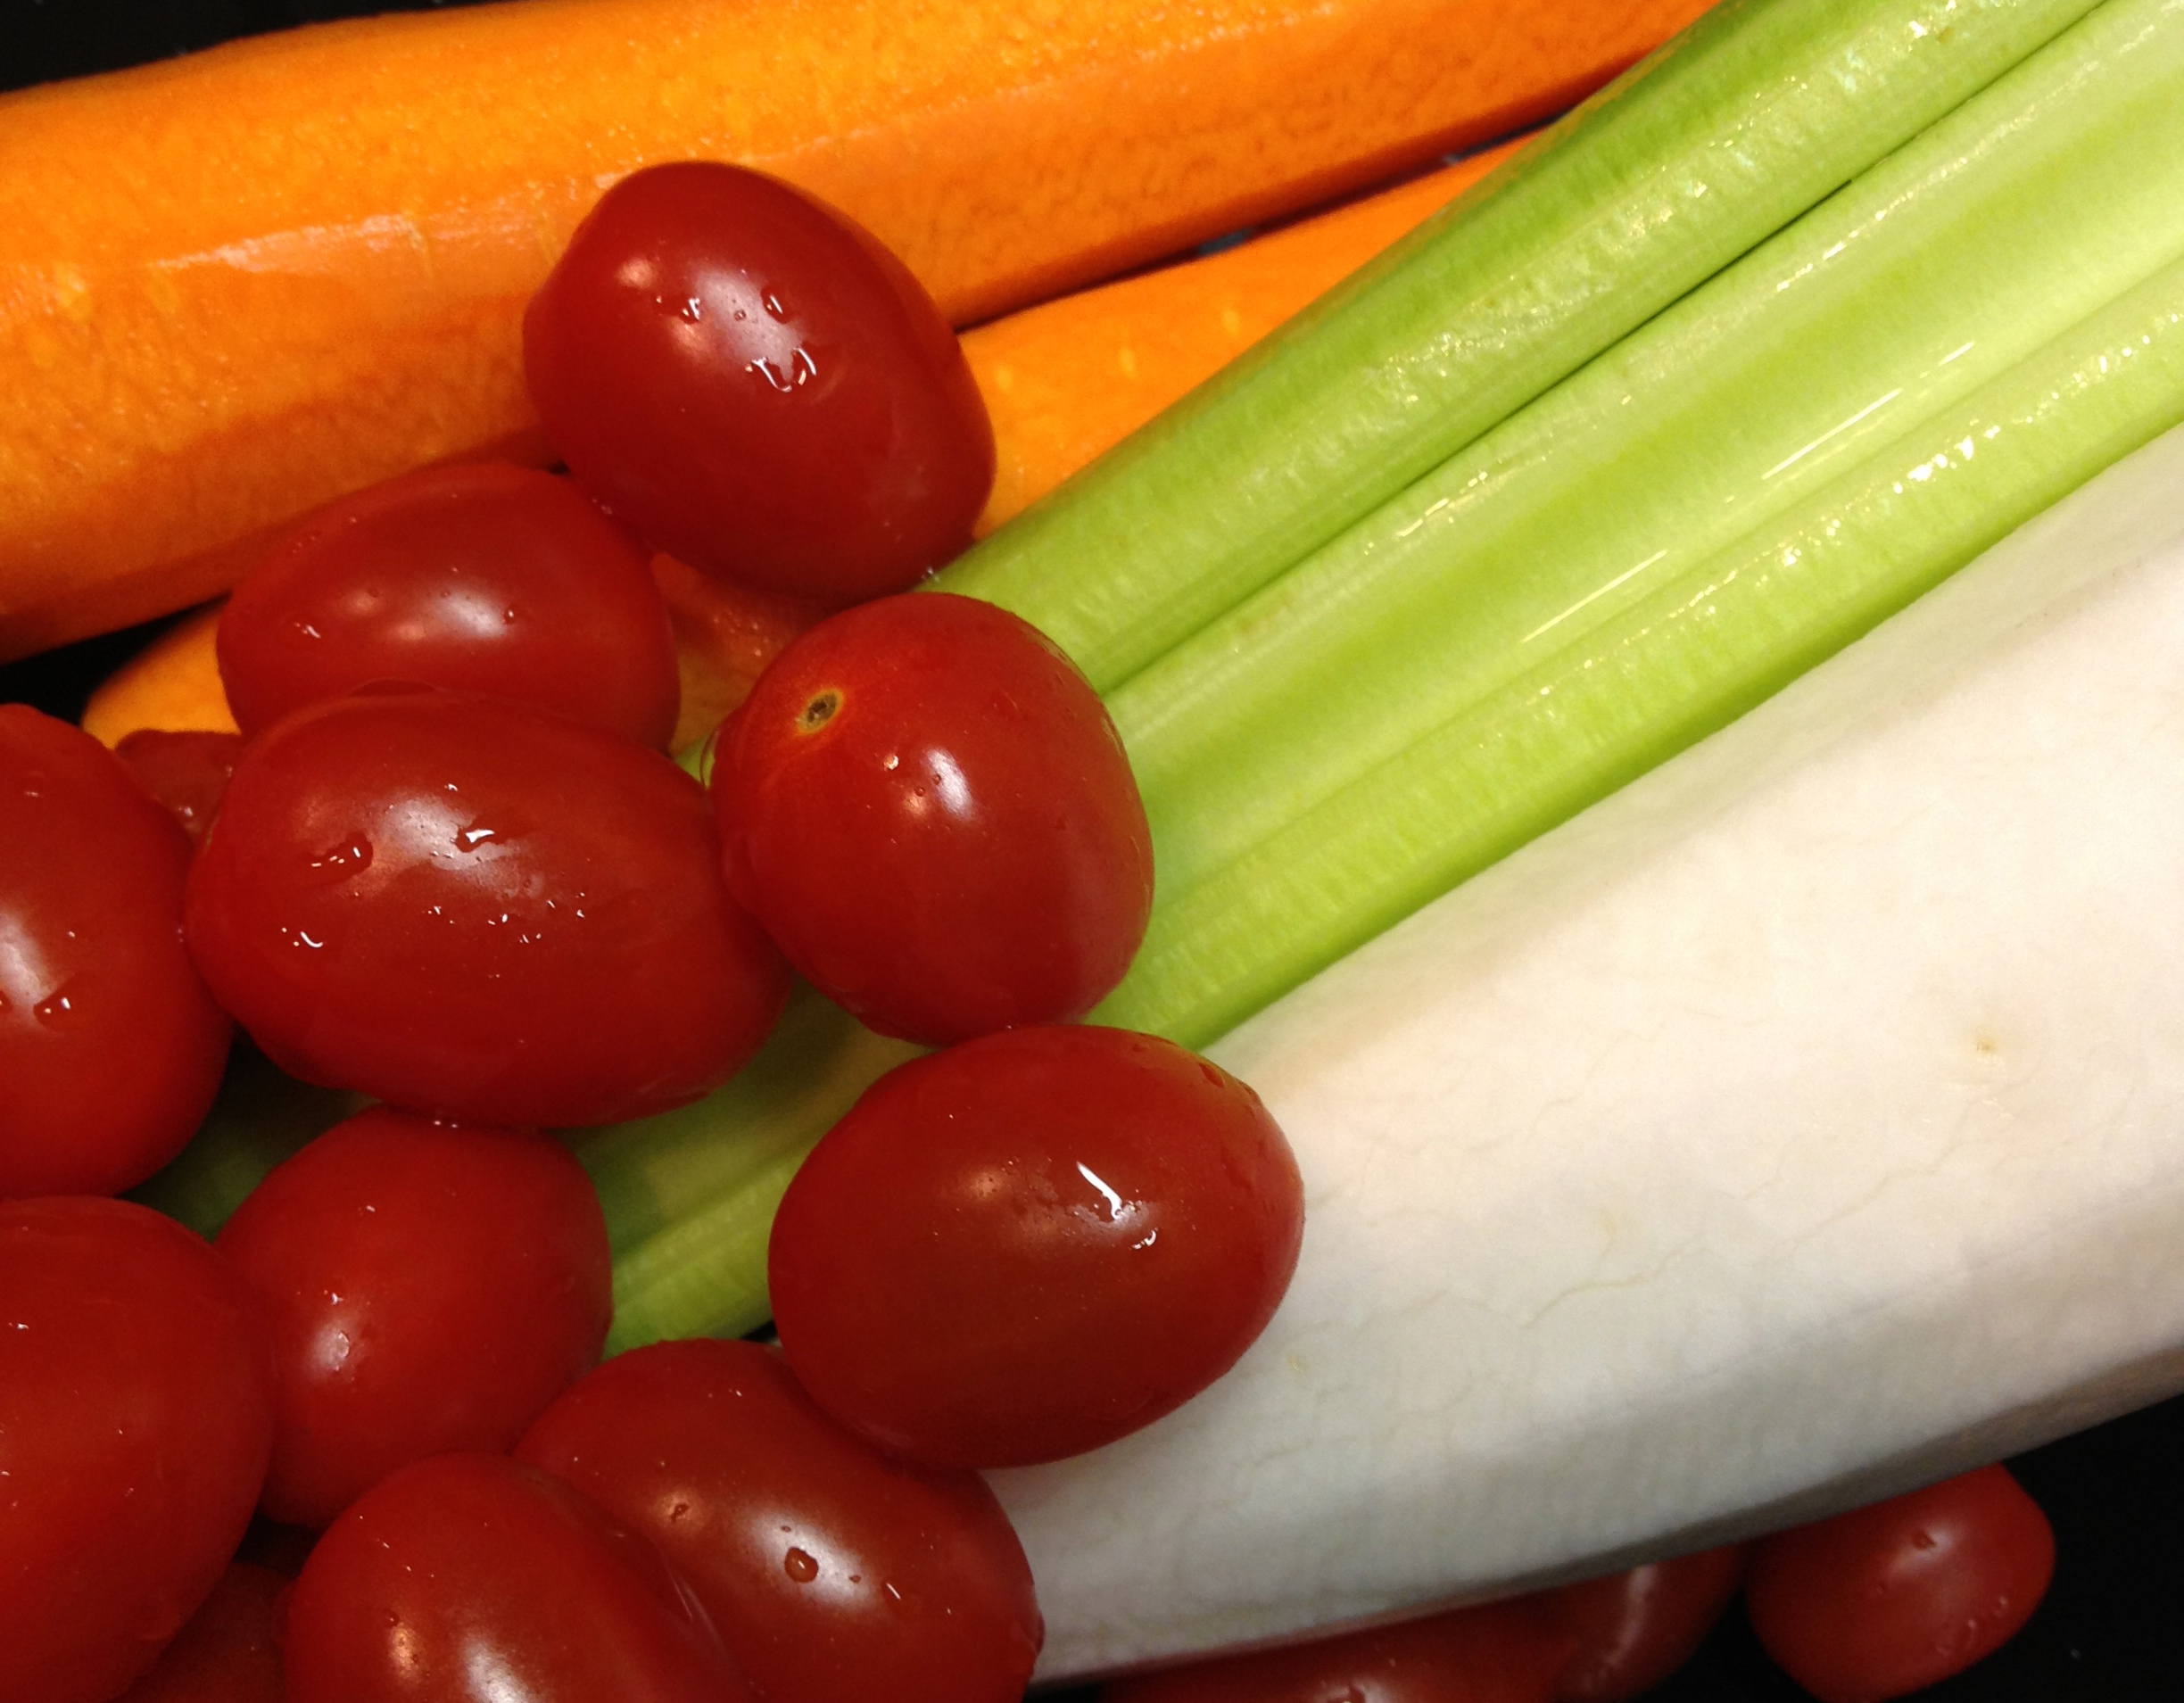
  • 1 cup of juice pulp (mine was beetroot, celery, carrot, apple)
  • 1 cup dried red lentil (thoroughly cleaned)
  • 2.5-3 cups vegetable stock
  • 1  can of chopped tomatoes
  • 1 chopped green chilli pepper
  • 2 tablespoons chilli powder
  • 1 chopped onion
  • 2 cloves of garlic-minced
  • 1 bay leaf
  • 1 tablespoon of coconut oil
  • pepper & salt to taste
  1. Heat oil in a sauce pan and sauté onion until translucent
  2. Add remainder of ingredients except salt and pepper and simmer for around 15 min or until lentils have softened
  3. Add salt and pepper to taste
  4. Dish up and serve with a dollop of greek yogurt

IMG_8156

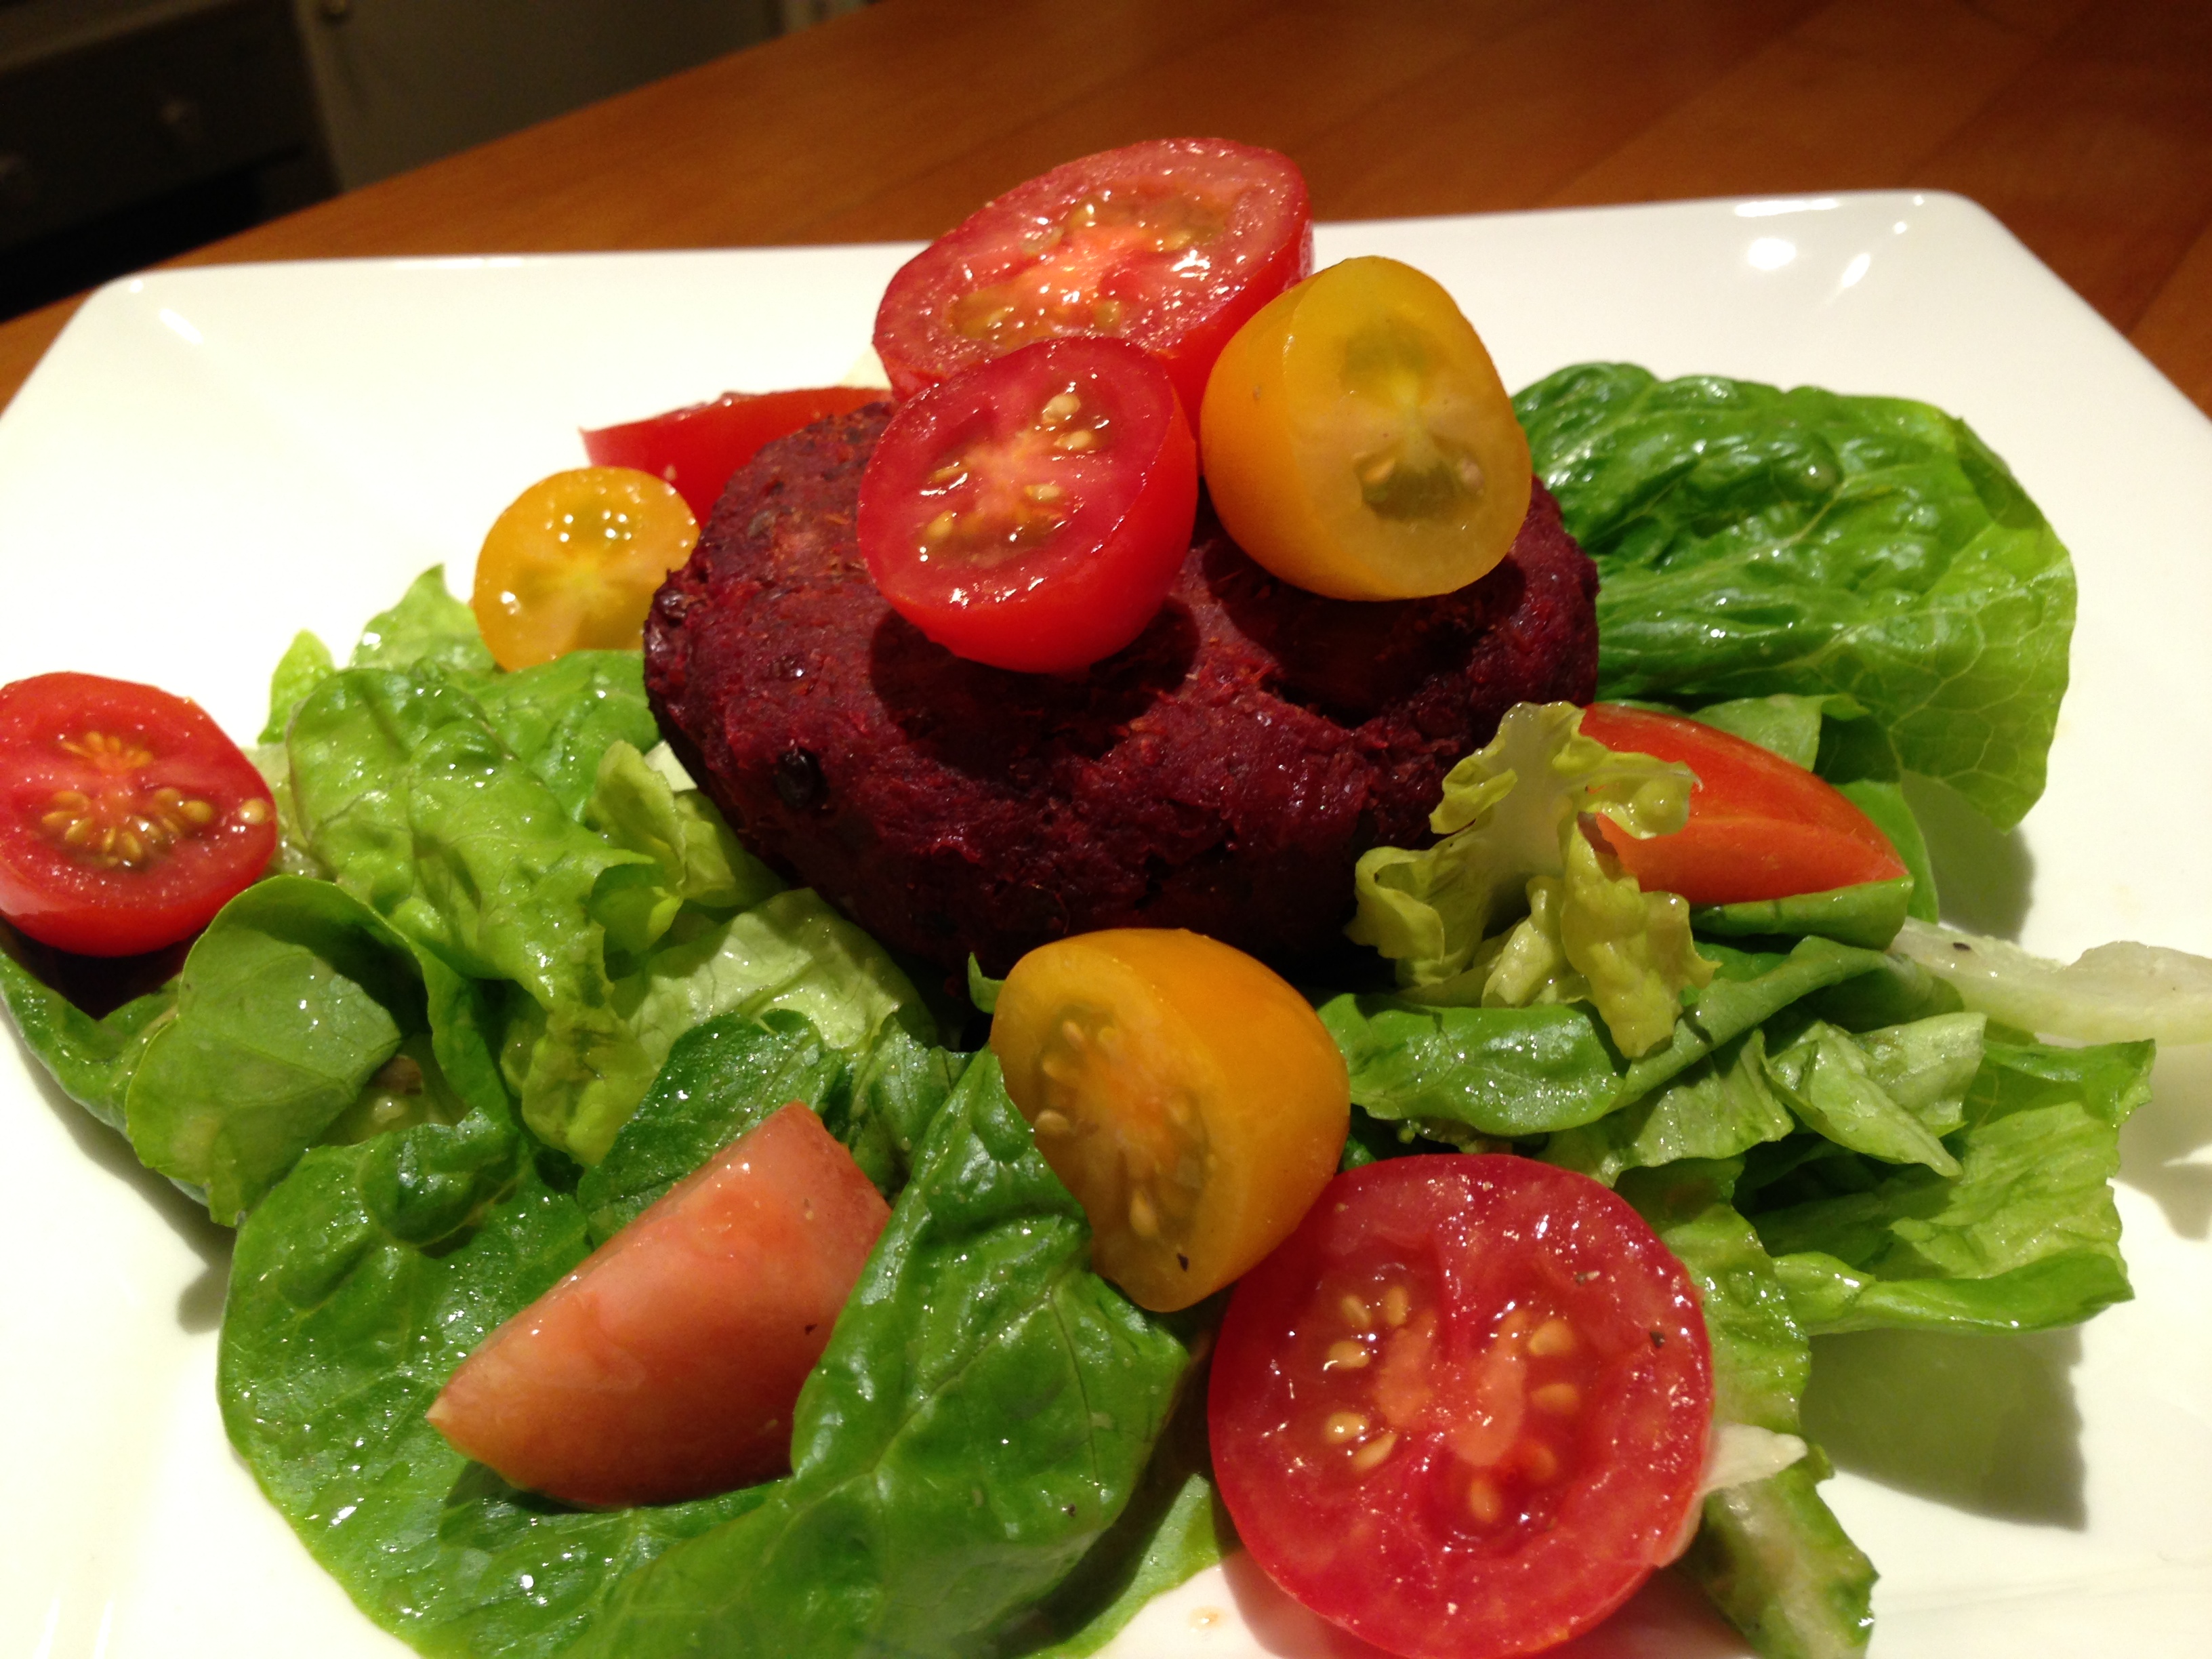
Lentil and Veggie Patties

  • 1 cup of juice pulp
  • 1 cup of cooked lentils
  • 2 eggs
  • 1 Tbs flaxseed meal
  • 1 Tbs soy sauce
  • 1 Tbs sesame oil
  • pepper to taste
  • chopped fresh coriander (optional)
  • 1 Tbs of coconut oil
  1. Mix all ingredients except coconut oil together in a large bowl and set aside for a few minutes
  2. Heat coconut oil in pan and place a large spoonful of the patty mix onto the pan
  3. Heat thoroughly on both sides (about 2 minutes on each side or until golden brown)
  4. Repeat this with remainder of patty mix (makes around 5-6 patties depending on how big you make them)
  5. Dish up and serve with a nice green salad or with a  slice of cheese and have it as a burger! Yummy!!

IMG_8158

You can even use the juice pulp as a treat for your fur kids. Cobey loves his with a bit of chlorella and a drizzle of flax oil! Yummy! 🙂

Gluten-Free Prawn and Veggie Noodles

Prawn and veggie noodles

If we’ve met, worked together, bumped into each other and especially if you know me personally you know I almost always carry a big bag. Why? It’s because I, without a doubt will have some sort of snack and water with me at all times wherever I go. So when I know I’ll be having a super long work day coming up I pretty much ALWAYS will pre-pack my lunch…..just in case we’re short on time, lunch isn’t provided on set or if my tummy doesn’t agree with what they’re serving. So I’ll whip up something simple, healthy and wholesome either the night before or, if I have time, that morning. I try to do the same for my super busy hubs, who, in most cases, will grab whatever is convenient and easy (usually on the not-so-healthy side) or will forget to have lunch altogether.

I made this SUPER EASY prawn and veggie noodle dish the other day for the hubs to take for lunch and he gave it a two thumbs up and totally loved it. Sorry the picture isn’t the best – I just did a quick snap so I could share it with you guys. 😛 It was soooo easy to make and the best thing is, it tastes just as good eaten hot or cold. So it makes it that much more of a great dish to take along with you for lunch, especially if you aren’t able to heat it up later. Here it is…..

What you need:

  • 10 prawns 
  • 1/3 packet of brown rice pasta noodles
  • 1/2 cup stock (I used garlic and herb but any stock will do)
  • 1/2 bunch of spinach
  • 5 mushrooms
  • 1 garlic clove
  • 1 onion
  • 1 red chilli
  • 1 TB sesame oil
  • salt/pepper to taste

IMG_5216

What to do:

  1. Prepare noodles following the instructions on the packet.
  2. While noodles are boiling, chop up your veggies.
  3. Heat half of the stock in a skillet and sauté onions until semi translucent.
  4. Add in garlic, chilli, mushrooms and continue to sauté.
  5. Gradually add more stock as needed while cooking (not too much to prevent from everything getting soggy).
  6. Add prawns to the veggies and continue to sauté until prawns turn pink and curl.
  7. Once the veggies and prawns are just cooked, add in chopped spinach at the end and turn off heat.   **spinach will cook immediately even with the littlest amount of heat. It’s important not to overcook them so you don’t kill away all of its nutrients 😉
  8. The noodles should be done at this point. We want noodles thoroughly cooked through but not too soft and mushy. (We’re going for “al dente”)
  9. Drain noodles and rinse slightly with filtered water. (I find rice pasta can become quite starchy so I like to rinse it a little before using it in a dish)
  10. Mix noodles with the veggies and prawns with a drizzle of sesame oil and toss together.
  11. Add salt/ pepper to taste if necessary

That’s about it! You can use any other vegetables or even chicken pieces if you’d like. It’s just a very simple dish that takes less than 30 mins to prepare – its a tasty, gluten and guilt free meal thats wholesome and hits the spot! 🙂

Oh So Gooooood Chickpea Muffins! (Gluten-free)

IMG_5313

IMG_5367

Ok, so these muffins are so amazingly yumms that they have been a real hit in my house! I’ve made them 3 times in the last 2 weeks and every time I make them they’re gone as soon as they come out of the oven! They’re SUPER easy to make and are packed with protein, fiber, and a whole lot of Goodness. They’re great to have as breaky on the go, a quick snack between meals or even for lunch…..pretty much any time of day and guess what- every single ingredient is totally good for you!! PLUS, its so moist, savoury and absolutely delish! Here’s how to make it…..

What you’ll need:

  • 1 can of chickpeas (1.5cups)
  • 1 cup of chopped fresh spinach
  • 2 carrots – shredded
  • 4 egg whites
  • 1 Tbsp olive oil
  • 1 Tbsp greek yogurt or cottage cheese (optional)
  • 1/4 tsp baking powder
  • 1/4 tsp cumin (optional)
  • 1/4 tsp ground pepper
  • 1/4 tsp sea salt

IMG_5468

What you have to do:

  1. Preheat oven to 180 degrees
  2. Blend chickpeas with olive oil and yoghurt til smooth
  3. Add egg whites to chickpea mixture and continue to blend
  4. Add baking powder, cumin, salt and pepper to the mixture and blend
  5. Finally add in chopped spinach and shredded carrots to the mixture
  6. Spoon mixture into a muffin tray
  7. Place in oven and bake for around 20-25min depending on your oven

IMG_3691

That’s it!!! Super easy right? You can also make it with just shredded carrots or just chopped spinach- totally up to you. You must MUST give this a try! It’s great for the whole family. So ENJOY!!!! 🙂

IMG_5457

Yummilicious Superpower Pancakes!

IMG_4180Who doesn’t love pancakes right? Well, we are OB-SESSED! Recently, I’ve been testing out different ingredients to try to add some healthy goodness to the traditional pancake.  Then I whipped up this one using oats that came out totally YUMMS and thought I had to share!

Let me start by sharing how awesome oats are! Oats are loaded with body-loving goodness! They are great to have anytime of the day, but they are amazing for breakfast as it gets the body going on a good note. They are high in fiber so it keeps you full for longer. They are packed with protein, stabilise blood sugar levels, low in fat and get this……they aid the body in removing bad cholesterol! Pretty cool right?

So here it is……my super yummy, heart healthy and totally guilt-free recipe for oat pancakes! DELISH!!!IMG_4192

Prepare oats for your yummilicious pancakes by soaking them overnight! This step is important because by soaking the oats you decrease the amount of phytic acid in the oats. (I will be explaining more about this in detail in another blog post) 

  • 2 cups Warm water
  • 1 cup Whole rolled oats
  • 1 Tbsp Apple cider vinegar/lemon juice
  1. Combine all ingredients in a tupperware container and mix together.
  2. Keep the container in the refrigerator overnight.
  3. In the morning rinse and drain oats thoroughly. Make sure to drain as much liquid as possible because you don’t want your batter to be too runny.

IMG_4198

For the Pancakes:

  • Pre-soaked whole rolled oats (thoroughly drained-important)
  • 2 Tbsp Flaxseed meal
  • 1 tsp Baking powder
  • 1 Ripe banana (mashed)
  • 1 Tbsp Greek yoghurt or cottage cheese
  • 5 egg whites
  • 1/2 tsp cinnamon (optional)
  • salt (optional)
  • coconut oil (grapeseed oil) for pan
  1. Blend (puree) pre-soaked oats with flaxseed meal in a food processor/blender until you get a smooth consistency.
  2. Add cinnamon, greek yogurt (cottage cheese), mashed ripe banana, egg whites and salt to the oat mixture and continue to blend.
  3. Add the baking powder to mixture.
  4. Lightly oil frying pan and scoop  the batter onto the pan and fry each side for around 2min. I find a ladle gives you the perfect amount of batter for one pancake.

Strawberry-chia topping –Blend the following ingredients and set aside. Best to prep this before pancakes so it thickens.

  • 1 cup Strawberries (if frozen remember to defrost)
  • 1 Tbsp Chia seeds
  • 1 Tbsp Honey

Other topping options: fruit yoghurt,  sliced fruit, honey, peanut butter, classic -maple syrup

IMG_4418

This recipe makes 4 large pancakes or 8 small pancakes. Here’s a little tip -I like to use the egg frying pan to make perfect lil’ mini pancakes! If you have any questions or comments I’d love to hear them so do drop me a line in the message box below! 🙂


Earthy Bean Dip

IMG_3481Beans are high in fibre and protein and are a great piece of goodness to add to our diets! Here’s an incredibly easy bean dip recipe that you can whip up in less than 15min. Its so earthy and creamy that it’s almost evil. It goes great with carrots, celery, cucumber….you name it! Such a great way to include more veggies in your diet as well! So here it is….

Ingredients:

  • 1 Cup Cooked Beans (Any kind will do. I used a mix of 3 different beans for this recipe)
  • 3 Tbsp Tahini
  • 2 Tbsp Orange Juice
  • 1 Tbsp Olive Oil
  • 1/2-1 Tbsp Garlic Powder (can adjust depending on how ‘garlicky’ you want it)
  • 1 tsp Lemon Pepper (optional)
  • Salt
  • Pepper

What to do:

  1. Blend (puree) all ingredients above in a food processor (blender) thoroughly until you get a thick, creamy texture 
  2. Dish up and serve with any veggies or even rice crackers

That’s it! So easy right? Easy, but a totally yummy and guilt-free way to satisfy the munchies! 🙂

IMG_3479

Yogurt 2 Ways

IMG_3422

Yogurt is an awesome snack just in itself! It is loaded with good bacteria (probiotics) which offers many health benefits especially for your belly! It’s packed with calcium, potassium and magnesium, just to name a few. Nowadays there are so many different flavours and types that we can choose from. We can even find an entire aisle at the supermarket dedicated to just these yummy goodies.

I for one am a HUGE fan of yogurt! Sweet, creamy AND healthy….whats not to love?! One of my vices is that I love snacking as such, I am always on the lookout for healthy alternatives. So I thought I’d share with you two incredibly easy Goodness snacks that you can make from yogurt. Use flavoured yogurt or if you have a that extra bit of time, you can whip up your own concoctions by blending plain yogurt with different fruits. Using the same yogurt, the same preparation, but two different methods….you get completely different snacks! The difference in the turn out and taste is amazing! One is a creamy, ice-cold treat and the other is a sweet, chewy delight (almost evil to the palate!).

FROZEN YOGURT DROPS

What you’ll need:

  • yogurt
  • parchment paper
  • sandwich bag or teaspoon
  • cookie tray (you can use a plate if you don’t have enough room in the freezer)
  • freezer
  1. Stir yogurt thoroughly (If you are making your own flavoured yogurt, make sure to blend the plain yogurt with your fruit(s) of choice thoroughly. Both methods work perfectly however for this blog I’m using flavoured yogurt)
  2. Place a sheet of parchment paper on a cookie tray
  3. Scoop yogurt into the sandwich bag and cut a small bit off the corner (a teaspoon works great as well) and place rows of droplets on the sheetIMG_3441
  4. Place cookie tray in the freezer for several hours  (usually takes around 3-4hrs, depending on how big your drops are and how cold your freezer is)IMG_3357
  5. Once the drops are frozen, peel off from the parchment paper and place in a container

IMG_3369

They usually don’t last long in my house, but you can easily store them in an airtight container in the freezer for days! You can even make multiple batches of different flavours and just mix and match when you feel like a cooling treat! 😉

DEHYDRATED YOGURT DROPS/ ROLLS

What you’ll need:

  • yogurt
  • sandwich bag or teaspoon
  • parchment paper
  • dehydrator (If you don’t have a dehydrator, your oven will do just fine)
  1.  Stir yogurt thoroughly
  2. Place parchment paper on dehydrator tray **Depending on your dehydrator you may need to cut the parchment paper to fit accordingly** (If you are using your oven you can spread the parchment paper on a cookie tray )
  3. Scoop yogurt into the sandwich bag and cut a small bit off the corner (a teaspoon works great as well) and place rows of droplets on the sheet IMG_3432
  4. Or you can spread the yogurt onto the parchment paper into a thin layer
    IMG_3428
  5. Dehydrate for around 5-6hrs. All dehydrators are different so probably best to check after several hours. If you are using an oven, just set the oven at the lowest temperature (~70-90C) and bake for the same amount of time but be sure to keep checking back. IMG_3437
  6. Once done, just peel off and enjoy! If you spread the yoghurt into a sheet you can roll it up for easy storing and to add a bit of fun when you snack. 🙂

IMG_3439

IMG_3438


Fresh Daikon Salad

I’ve shared in a previous post the awesomeness of daikon (Japanese white radish) and here is an easy recipe you can whip up at home using this amazing veggie. For the busy bees out there you can even prepare it the night before and take it to lunch the next day!

IMG_3583

Ingredients for the salad:

  • 1 Daikon radish
  • 2 Carrots
  • 2 Celery stalks
  • 1 Punnet of cherry tomatoes
  • 1 Green apple
  • 2 Firm Tofu
  • 1 tsp lemon juice or vinegar
  • Salt
  • Pepper
  • 1tsp Coconut oil or grapeseed oil

Ingredients for the dressing:

  • 2 tbsp Tahini
  • 1 tbsp Honey
  • 2 tbsp soy sauce
  • 1/2 tbsp rice vinegar
  • 1/4 tsp minced ginger
  • 1/2 tsp sesame oil
  • dash of ground pepper

IMG_3566 

1) Mix all ingredients for the dressing and keep chilled in the fridge whilst prepping the salad

2) Wash all veggies thoroughly

3) Chop up celery into thin slivers and set aside

4) Peel and shred carrots and daikon and set aside (I used a spiralizer but a mandolin will do just fine)

5) Halve the cherry tomatoes and set aside

3) Chop green apple into slivers toss with lemon juice and set aside. You can shred it as well but I chopped it to add different textures to the salad

4) Toss all veggies together in a large bowl with the lemon juice. The lemon juice slows the oxidising process (preventing nutrient loss and from turning brown) especially important if you are prepping the salad for the next day.

5) Slice tofu into around 1cm thickness (can be thicker or thinner if you’d like). Sprinkle a bit of sea salt and pepper. Add the coconut oil or grapeseed oil to the pan and lightly fry each side of the tofu until golden brown. Then transfer the tofu slices onto a chopping board and chop into smaller pieces.  You can opt for a full raw salad by skipping the frying and going straight to the chopping.

6) Add tofu to salad mixture and drizzle dressing and toss all together until the salad is thoroughly covered with the dressing

7) Dish up and serve! Easy, fresh, and super yummy!

**This makes about 4 decent servings